|
|
|
|
|
|
Issue 7, January
Hi ,
Every January I like to assess the state of my shop. Of course, there’s no reason why I can’t do this any other month of the year, but something about the new year feels fresh. It’s like an imaginary reset button. An opportunity to plan and organize.
If you feel like you’ve been sitting around a little too much this past month, now’s a great time to reconnect with your shop space. If you live in a cold climate, you can start getting your shop prepared for warmer days. There are always things to be done in a workshop.
Here are 6 tips to jumpstart your new year, new shop:
- Grab a cup of hot coffee or herbal tea and wander around your shop. Reflect on the projects you made last year and the enjoyment you had in this space. Notice the way your tools sit when not in use and the way the sun might shine on them. This is your sanctuary. Take the time to fully be in it.
Okay. That’s long enough, ya hippie. Time to do something productive.
- If you’re using a shared space, maybe part of the garage, other junk often has a way of encroaching on your shop space. Do you have to move the lawnmower or camping equipment just to get to your miter saw? If you are unable to negotiate more space, delineating the space you do have is important.
A few years ago I suggested running blue painter’s tape on the floor, clearly identifying the boundaries of the shop area. It’s amazing how many people tried this with great success. Somehow, even imaginary walls will discourage people from trying to store stuff in your shop. But this goes both ways: don’t store any of your gear over by the box of Christmas decorations.
- Rearrange the furniture. Changing things around in your shop can improve your workflow and make your shop feel new. Sometimes we get stuck thinking that wherever we first positioned our tools is where they must remain. I have completely reorganized my shop many times as my tools change and my needs grow.
Take some time to really consider your workflow and if you’re wasting steps moving from tool to bench to tool. Play around with various placements of workbenches and tools. It might take a few months of working in your shop to really understand which layout works best for you, so it’s worth experimenting with now.
- Look at your workbench and other horizontal surfaces in your shop. Right now. (It has to be right now because if you’re reading this newsletter, you’re probably not assembling a project.) What’s on those surfaces? A sander? A drill? A bottle of glue? A rag? Random screws?
It’s a sad reality that these might be homeless tools. They need shelter. A place to call home and feel secure.
Figure out what gear is continually sitting on your workbench. Or tools that you always have to search for where you last set them. I suggest making work stations that group categories of tools. Maybe a cabinet specifically for sanders and sandpaper, a finishing cabinet, or a station for drills, drivers, and bits. You can also designate shelf space with painter’s tape for specific tools. The key to tool organization is setting up zones...tools and sundries that logically go together. The more homes you can provide for your stuff, the more likely you will stay organized, and the more organized you are, the more productive you’ll be.
- Reduce your wood hoard. One of the things all woodworkers struggle with is scrap lumber. It’s difficult to decide if a cutoff is something we “might be able to do something with someday”, or something that is waste. Over the years, I’ve gotten more and more aggressive about tossing out cutoffs as soon as I cut them off, it’s mostly instinctual. I don’t have any hard and fast rules about what to save, but I know that it’s easy for these little pieces to accumulate and take up valuable space.
I suggest thinning the herd once a year. If you don’t think you have enough now to get rid of, mark a date on your calendar and stick to it. Lots of people will gladly take scrap lumber off your hands. Place an ad on any local classifieds website (Craigslist, Facebook, etc.) and give it away for free. It will make someone else very happy, and you will have less clutter in your shop.
- Beautify. You spend a lot of time in your shop and it should be a place that inspires you every time you step into it, Create some custom wall art, install some LED strips, or paint the walls. And finally, take some “before” pictures today. Once January 2022 rolls around, you’ll appreciate this visual reminder of how far you and your shop have come.
By the way, if you feel overwhelmed or frustrated trying to organize your shop into a more productive workspace, or if you’re wanting to set up your first workshop from scratch, my online course, The Weekend Workshop is the solution you're looking for. It’s my step-by-step system that covers everything from workflow and organization to air quality, lighting, and much more. Plus you’ll get detailed plans and videos for 14 shop projects designed to make the most of every square inch of space. Check it out!
Have a great month,
Steve
|
|
|
|
|
|
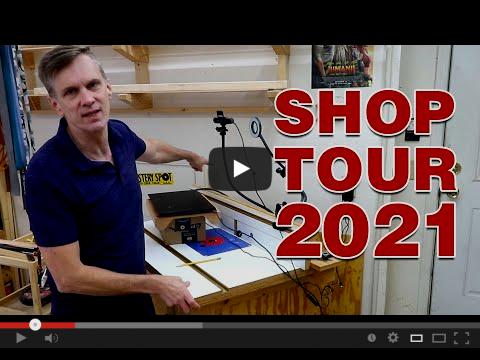
Shop Tour 2021
Does your shop need some upgrades?
I kicked off the new year with a shop tour to see how my shop has changed since last January, and to highlight areas that I need to work on. Remember, the woodworking shop is an evolving space.
|
|
|
|
|
|
|
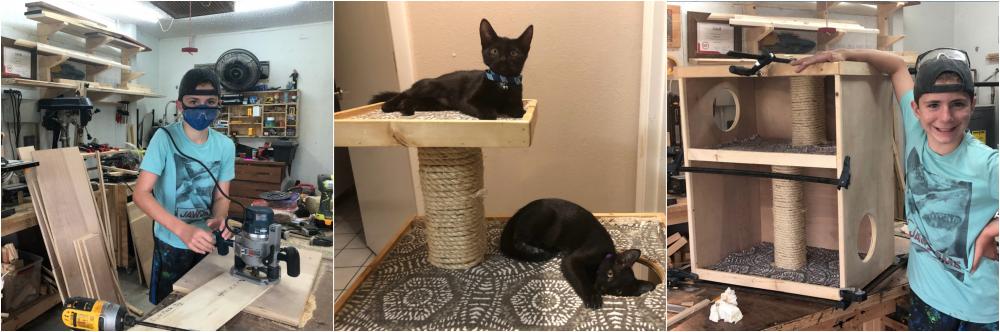
Community Highlight
Quarantine Wins
Like many new woodworkers, Adam, now a member of The Weekend Woodworker, The Weekend Workshop, and Powered Up, is starting 2021 with woodworking confidence, an efficient workshop, and a trusty workshop partner.
After browsing YouTube for plans for a planter 18 months ago, he stumbled upon my channel and jumped right in! My catification series inspired him to succumb to his family's wishes and adopt two kittens. Before bringing the kitten home he and his son spent a day together building a wonderful cat-cabinet for them to enjoy.
Great job, Adam and Jacob!
|
|
|
|
|
|
|
|
This Month's Member Projects
|
|
|
|
|
Check out these awesome projects built by a few of our Weekend Workshop members!
|
|
|
|
|
|
|
|
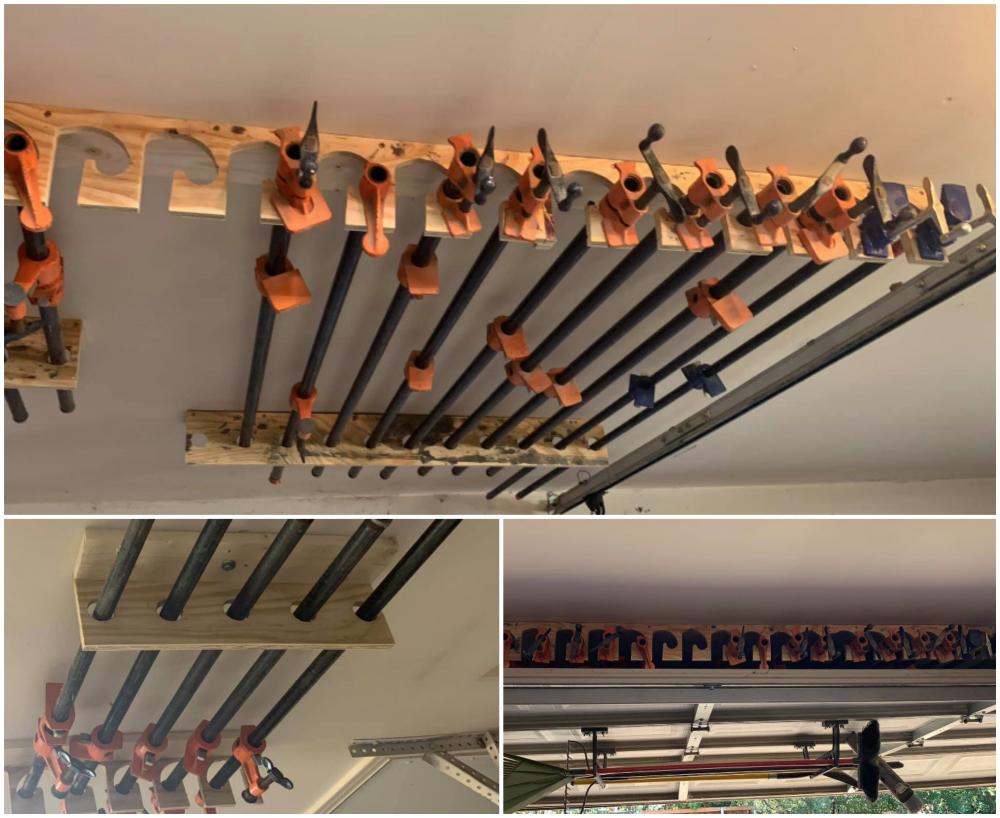
Creative Clamping
What to do when you run out of wall space for storage? Look up! Mike has this creative clamp storage solution.
|
|
|
|
|
|
|
|
|
|
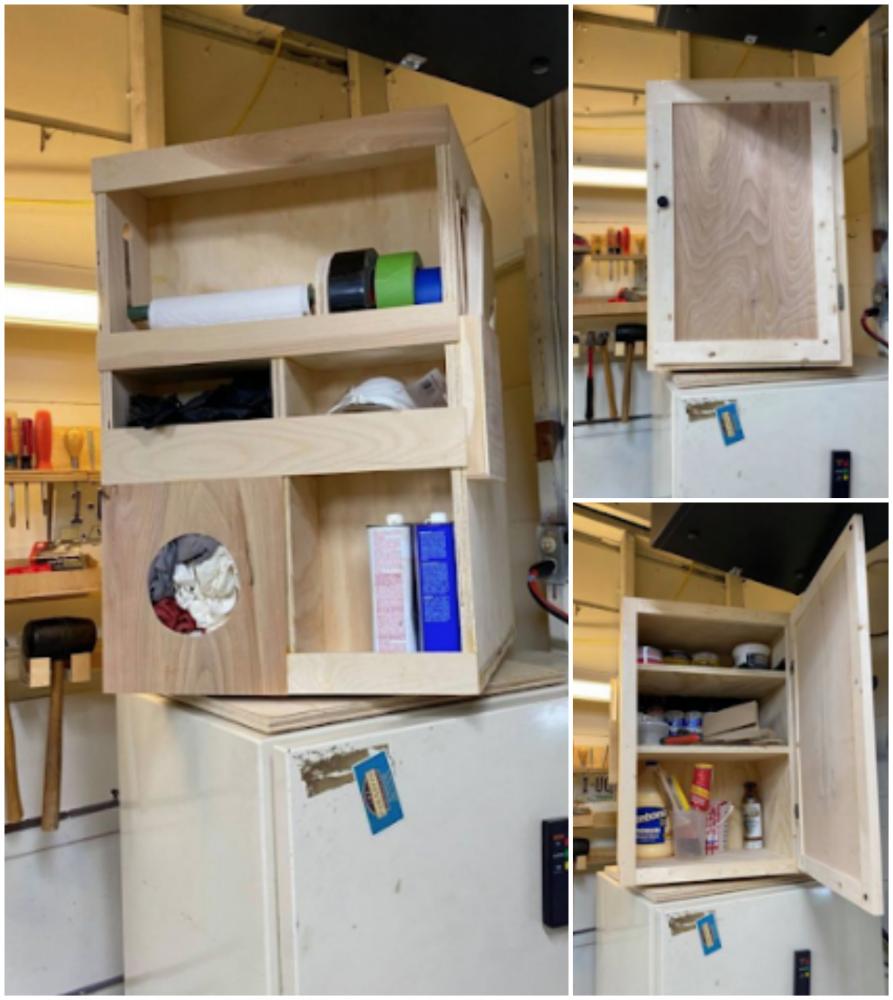
“Cool” Modifications
I love the way Daniel thinks outside the box! He modified the Mobile Finishing Station to make a Rotating Finishing Station, and he utilized the space on top of his freezer. Clever!
|
|
|
|
|
|
|
|
|
|
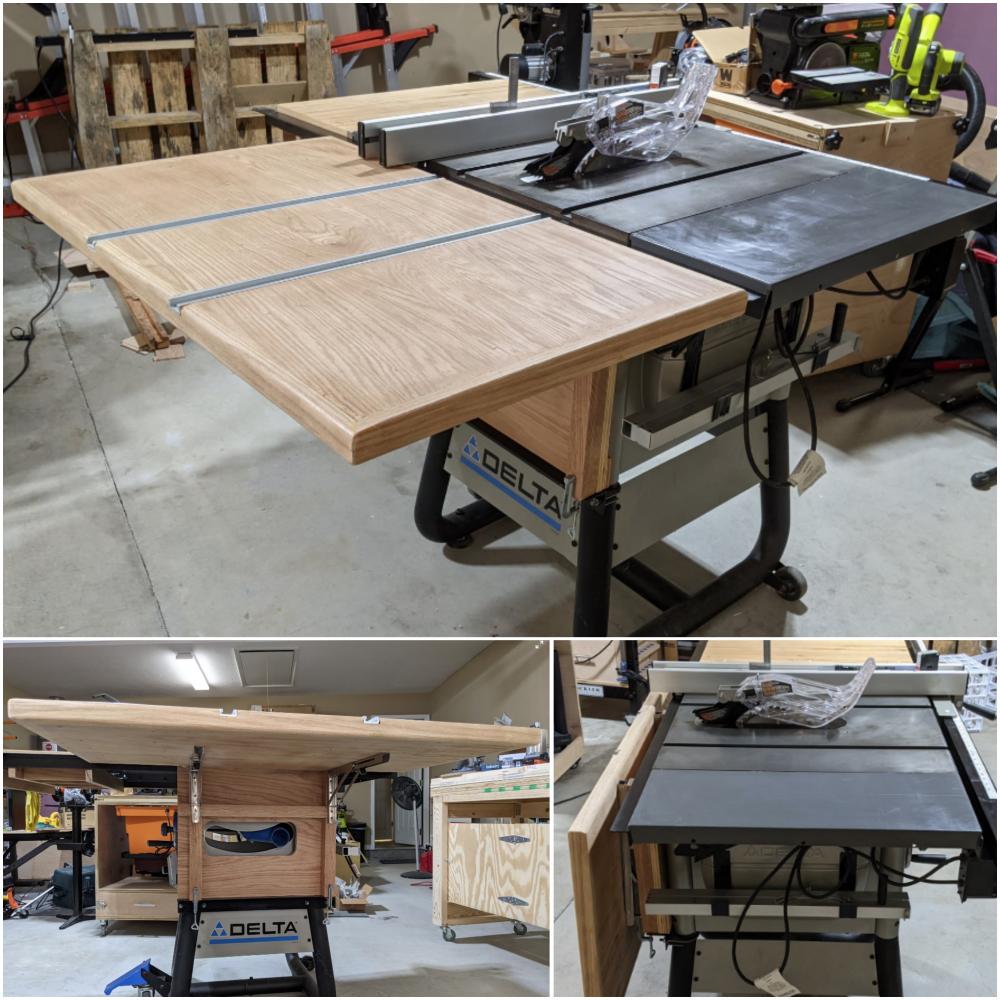
Table Saw Efficiency
One of the best ways to improve the efficiency and capacity of your table saw is to build an outfeed table. You can make a portable table that rolls up to your saw (I use my Basic Mobile Workbench) or take it to the next level as Kevin did with this folding outfeed table, complete with t-tracks.
|
|
|
|
|
|
|
Happy New Year, everyone.
- Steve
P.S. If you are new this month, you can read last month’s issue of Notes From the Shop here.
|
|
|
|
|
Can’t get enough WWMM? Subscribe on YouTube or connect on Instagram or Facebook.
Looking to share this newsletter with others? Have them subscribe here or share this web version of the newsletter.
|
|
|
|
|